
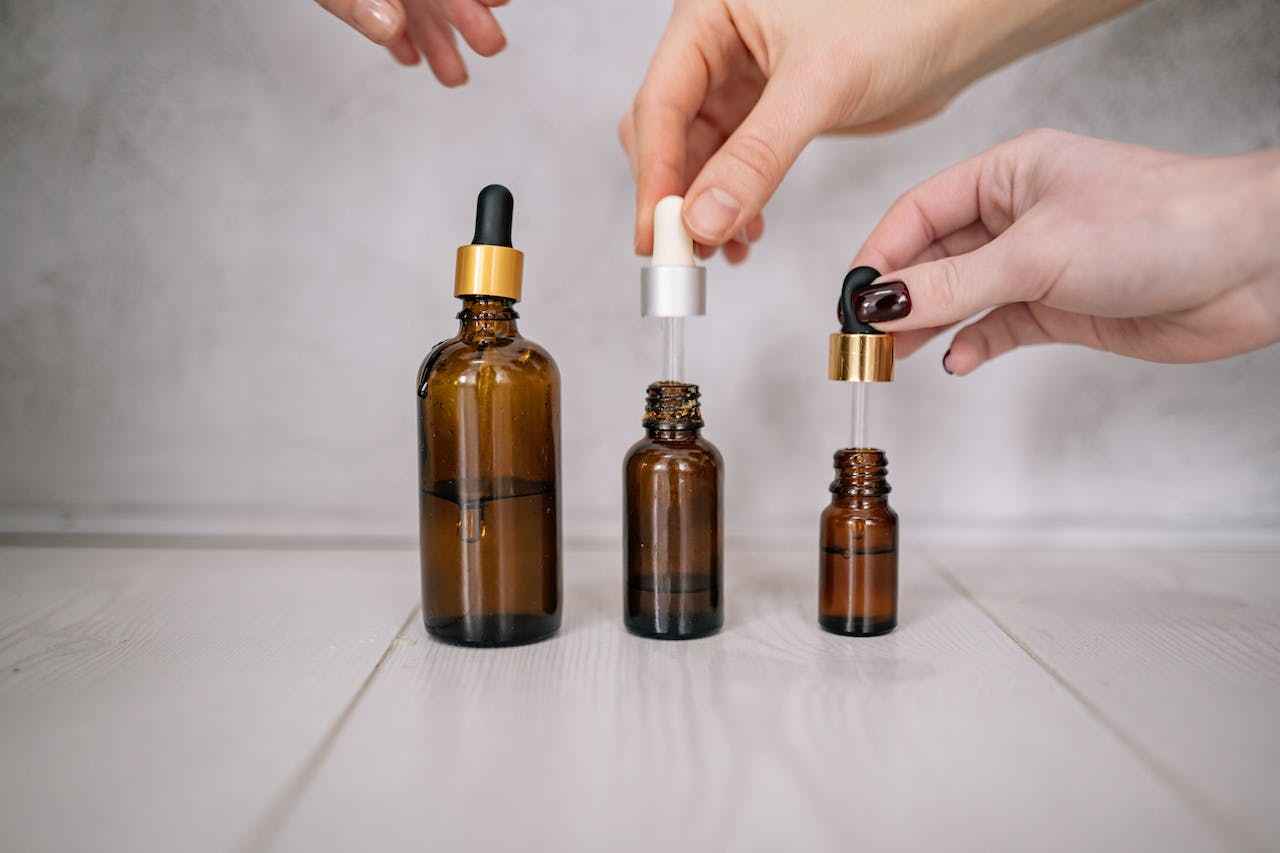
Branded or DIY, hair growth oils have a high place in gaining long, thick hair. They are not all you need (a consistent and effective routine is most important), but oils certainly bring power-packed benefits to your routine.
However, store-bought hair growth oils are not always of high quality, with many only containing minute quantities of growth-promoting oils. For that reason (and for the sake of your budget), it is often best to create your own DIY hair growth oil. Thankfully, it’s really easy to do so.
In this guide, we’ve highlighted what you need and the procedure for making your own potent growth oil. Take a look.
Ingredients for DIY Hair Growth Oil

The oils and herbs in this recipe are common and usually readily accessible. You can find them in herb and spice shops at local markets in most towns. Many supermarkets or convenience stores also sell these ingredients but theirs may be branded ones and, thus, pricier.
That said, let’s consider the ingredients you’d need for this recipe. To create a powerful and stimulating DIY hair growth oil, you will need:
- Carrier Oils:
- 1 cup of Extra Virgin Olive Oil or Sweet Almond Oil (to penetrate the hair shaft) and
- 2 tablespoons of Jamaican Black Castor Oil (to promote thickness).
- Herbs:
- 2 tablespoons of dried Rosemary (stimulates follicles) and
- 1 tablespoon of whole Cloves (reduces shedding).
- Essential Oils (Optional but preferable):
- 10 drops of Peppermint or Tea Tree essential oil for an extra scalp-stimulating tingle.
Method for Making the DIY Hair Growth Oil
Once you’ve got the ingredients ready, preparing the oil involves the steps in this section. But first, let’s take a look at some important precautions to bear in mind.
Important Caution
- Do not use plastic. Plastic can leach harmful chemicals into your oil when heated, and strong essential oils can degrade plastic over time. So, always use glass jars for infusing and storing.
- Sterilise your tools. Before you begin, wash and boil your glass jars to get rid of bacteria that can ruin your DIY hair growth oil.
- Ensure no contact with water. Even a single drop of water in your oil can cause mould or turn the batch rancid. So, it is important to ensure that your herbs, jars, spoons, and even hands are completely dry before you begin.
With these in mind, let’s take a look at the procedure involving the double-boiler infusion method that extracts all nutrients from the herbs without destroying them:
- Combine: Place your herbs into a clean, sterilised, and dry jar and pour your carrier oils over them, ensuring the herbs are completely submerged.
- Heat: Place the jar into a pot with a few inches of water (creating a water bath). Simmer on low heat for 2 to 3 hours. You shouldn’t let the oil itself boil.
- Cool and Strain: Remove the jar carefully and let it sit for 24 hours to continue infusing. Afterwards, strain the oil through a cheesecloth or fine mesh sieve into a final bottle.
- Enhance: To boost the potency of the oil, add your essential oils last.
Note: To extract all the nutrients from your herbs without destroying them, this “Double Boiler” infusion method is best.
How to Apply the DIY Hair Growth Oil for Massive Growth
Here’s how to use your DIY oil for best results –
- Use for scalp massages daily or every other day (2-3 days intervals). Even applying once a week, on washdays, can be effective as it stimulates blood flow.
- Include in your moisturising routine, through any of the following methods:
- LOC (Liquid, Oil, Cream/Butter)
- LCO (Liquid, Cream, Oil)
- Use as a pre-poo treatment before shampooing. Coat your hair and scalp in the oil before shampooing to prevent the harsh stripping of your natural sebum.
- Add a few drops to your deep conditioner for increased slip and moisture.
Benefits of Using This DIY Growth Oil
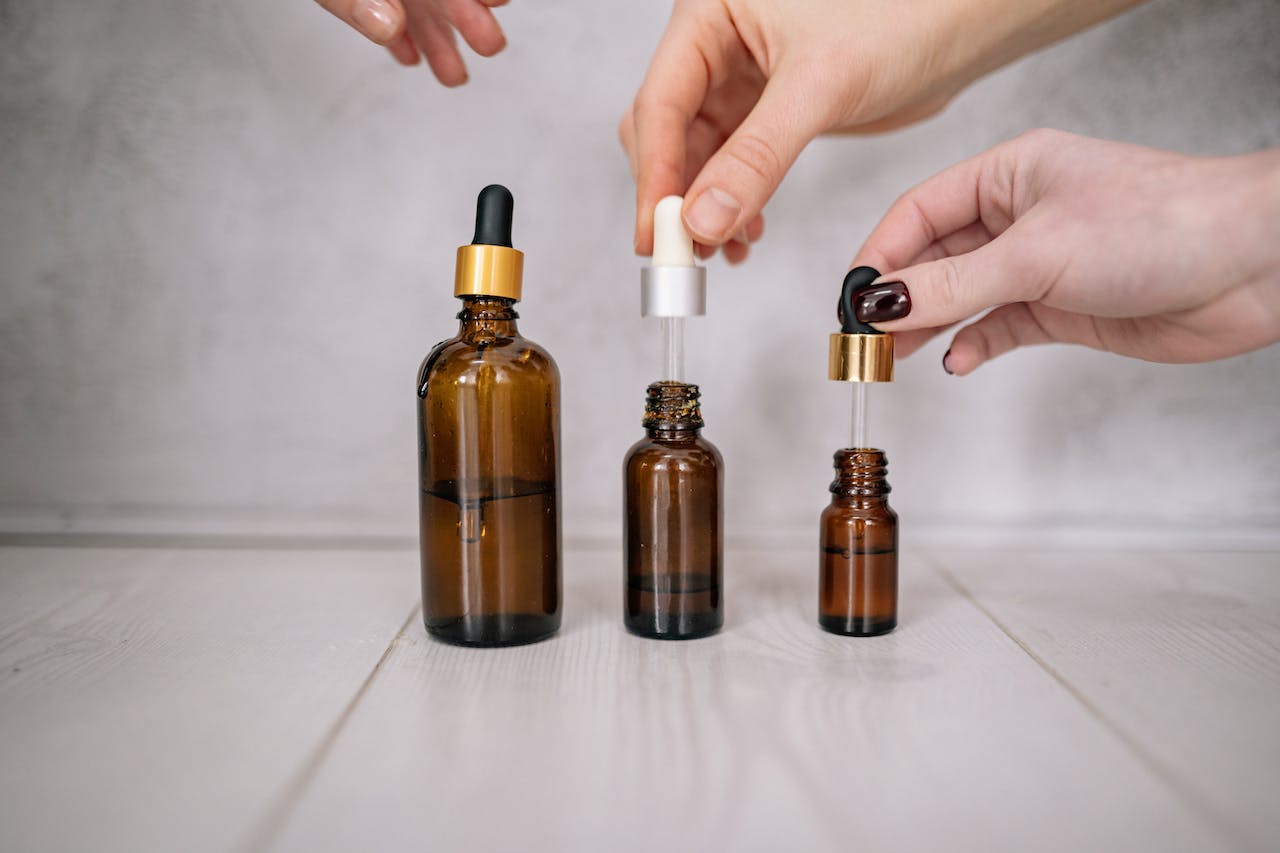
Obviously, you can expect longer hair from including this oil in your hair care routine. However, other benefits include –
- Fuller, thicker hair (especially because of the castor oil and cloves)
- Strengthened follicles, promoting length-retention and reduced breakage
- Improved shine, without synthetic silicones
Final Thoughts
Bear in mind that this is not the only ultimate DIY hair growth oil recipe that there is. Other herbs can be substituted for those in this article to give similar results. In fact, this is only one out of several customisable recipes that produce effective results.
The biggest plus of this recipe is that its ingredients are easy to get, and the process of making it is both time and effort-efficient. If you can’t get around to making your own oil, then it’s okay to get one from a beauty store.
Remember that regardless of the power of your oil, you’d see no results if you do not follow a consistent routine of application. Massaging your scalp every washday, daily, or every other day, as this article on growing lengthy hair suggests, will ensure that you gain your desired inches.